Okay, first things first.
Registration is now open for our two-day food photography workshops.
These workshops are a powerful way to improve your food photography skills and refresh your creativity.
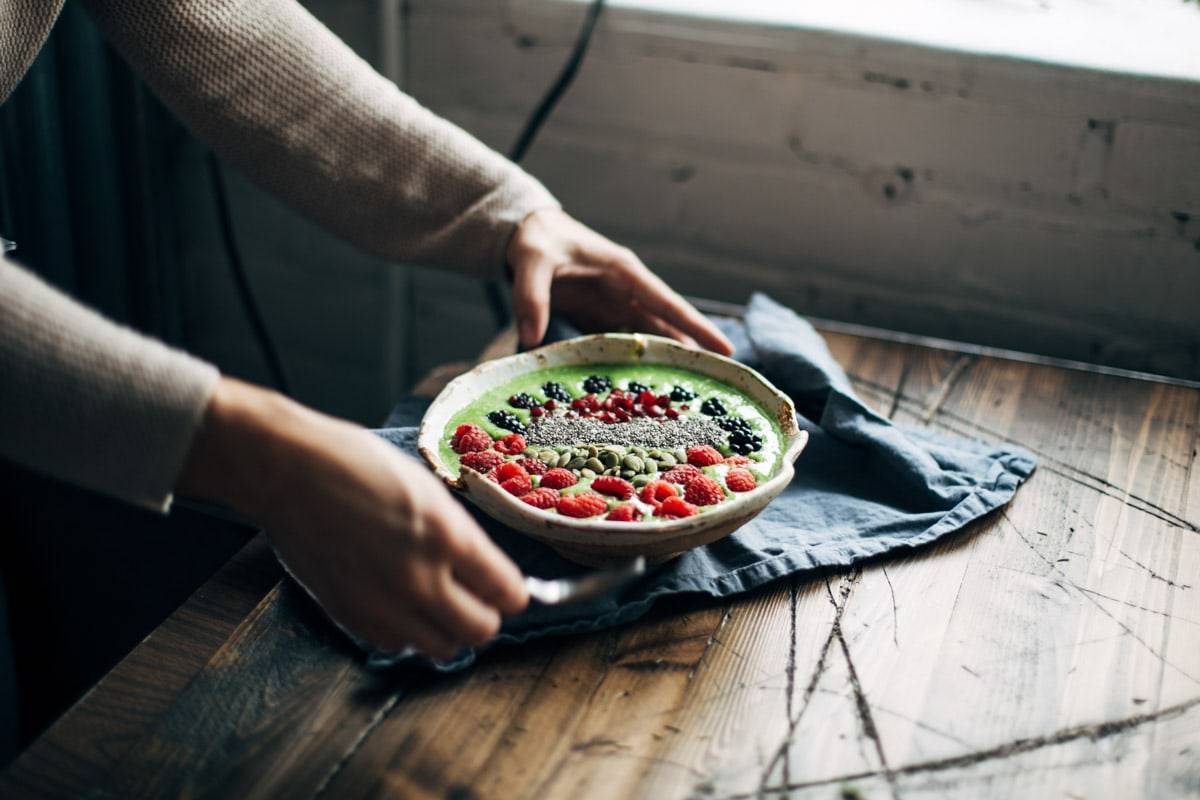
In two days, you’ll learn things like how to use your camera in manual mode, and how to fill the frame of your food photos without looking awkward, and how to style overwhelming or challenging foods (green smoothie bowls, anyone?), and even speedy editing tricks that will make your workflow easy and straightforward.
You’ll also get the chance to reconnect with your creativity as you practice-practice-practice. We have tons of food set out during the course of the weekend for you to use and opportunities for you to use the food to do some hands-on styling.
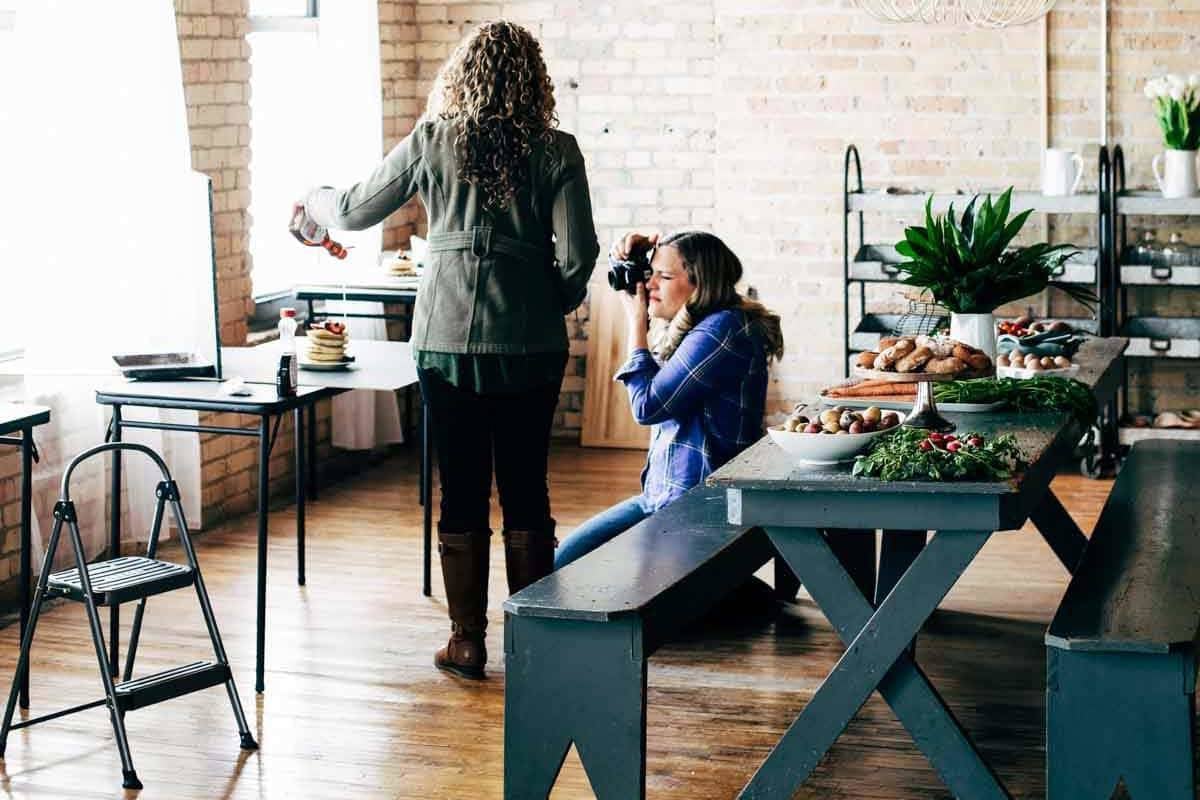
Plus, you’ll have your own window and table (seriously – we have 12 WINDOWS up this studio) so you’ll have plenty of room to do your thing.
Quick Workshop Stats:
- We’ve sold out 6 food photography workshops in the last 9 months.
- During that time, we’ve welcomed 90+ students to our studio in Minneapolis.
- Our current workshop size is 12 students per class.
- More than 70% of students travel from out of state to attend the workshops.
- At least 10 students have come as brand representatives for companies that they work for, including Land O’ Lakes, Lodge Cast Iron, California Giant Berry Farms, Cargill, and Nordic Ware.
- In the first 9 months, 6 past students already return to attend a second workshop experience.
- The Style + Brand workshop has an average satisfaction rating of 4.8 out of 5, and this spring the Food + Camera workshop got a straight up 100% 5-star satisfaction rating.
I have to tell you this quick story from MB – she came from Virginia to attend a workshop this spring.
MB sent us an email a few days after the workshop and here’s what she said:
I just wanted to drop you a note to let you know how much I enjoyed your workshop. I am still processing and tweaking all I learned, but wow, did my photography improve dramatically… a few days after I returned I shot and posted this to Instagram, and received nearly 1,400 likes – roughly 1,100 more than I usually receive!
MB
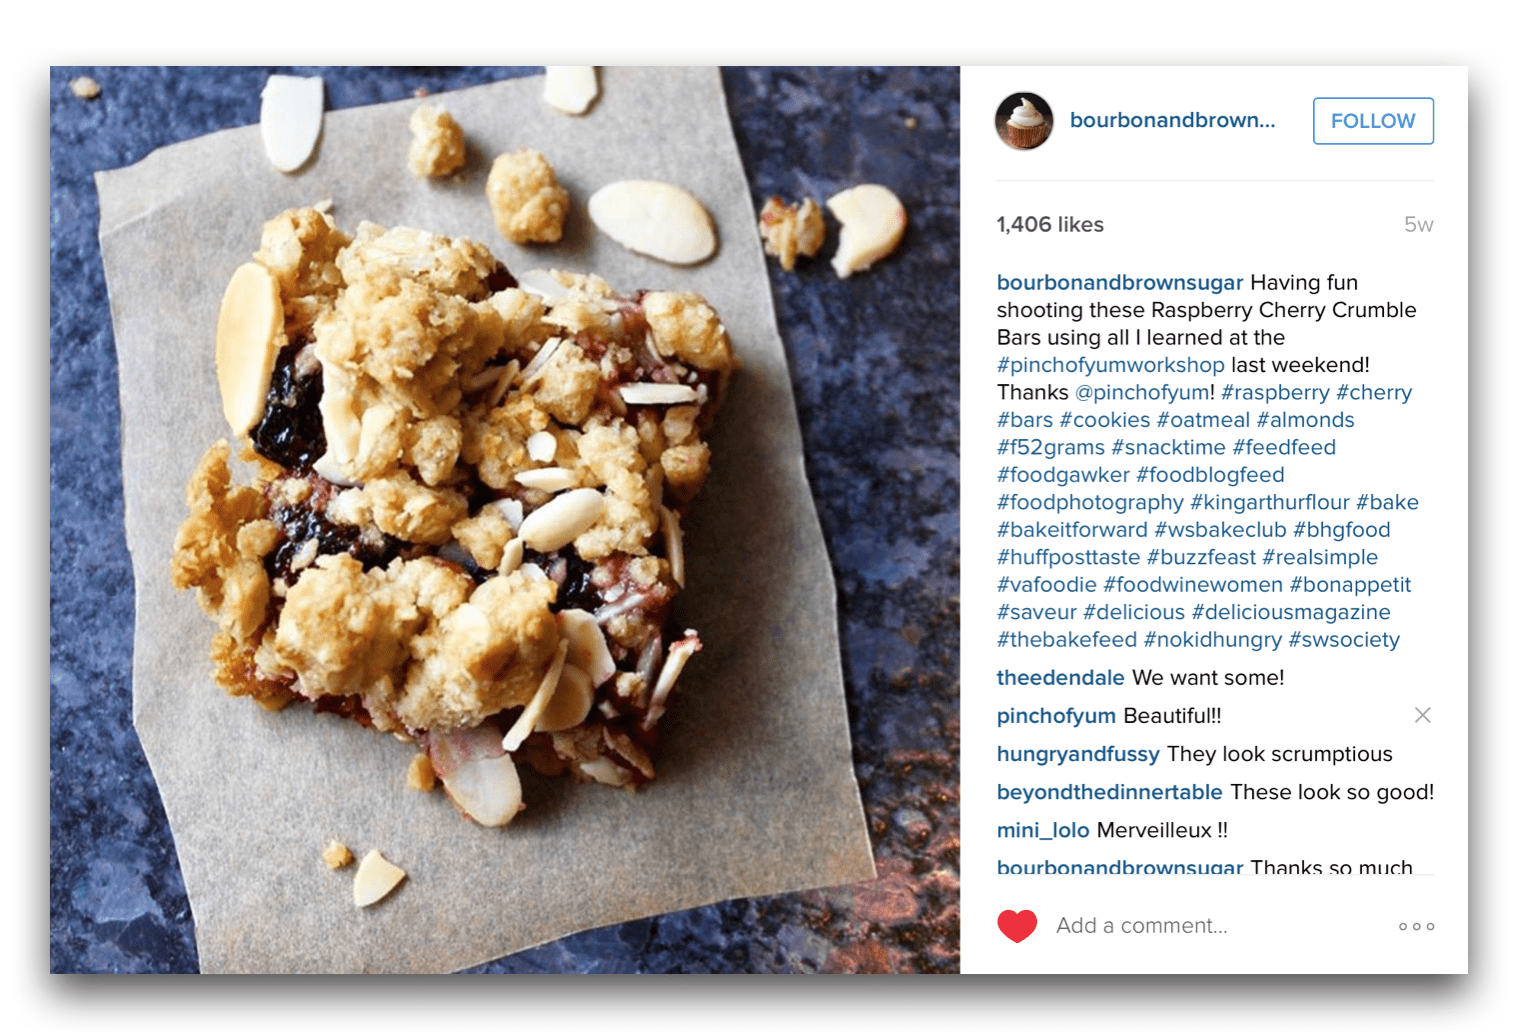
Do you see that? That’s REAL people seeing REAL results after spending two days of intentional time learning and practicing with us here in the Pinch of Yum studio.
This could be you! I so want it to be you.
You guys, can we be candid for a minute here? While I obviously LOVE food photography and have built up my skills significantly since I first started Pinch of Yum, I will be the first to say that I don’t consider myself the best of the best of the best food photographers or stylists out there. No, not so much.
What really makes my heart beat and puts me into the zone of genius is facilitating a powerful learning experience.
My elementary school teacher heart is having a moment back in the spotlight, I guess. I get so much joy from taking something that is an otherwise very intimidating and artistic and ambiguous process and making it easy to understand and easy to implement in ways that give you maximum benefit, whether that be in time saved, opportunity to monetize your work, or creative joy.
We’ve created a powerful balance of Teach – Model – Guided Practice in order for you to not only have fun at the workshop but also for you to make it your own and make it STICK. This is what I do best. And I would love to share this experience with YOU.
ALSO IMPORTANT and probably worth noting! –> We are currently offering a bonus for new workshop attendees which is a one year membership to Food Blogger Pro ($279) which you can access immediately when you buy your workshop ticket. With this membership, you’ll be able to continue learning and connecting with others in the industry long after the workshop is done.
Join us for a workshop and get in on this bonus offer.
Please note that workshops are limited to 12 participants. At the time that I’m writing this post, we are already about halfway sold out.
Okay, so now you know about workshops.
So let’s talk about how to take photos that perform! we’re talking likes, comments, and shares.
VIRAL, as the kids call it.
There are many factors that go into taking photos that pop off the page at people and inspire them to engage somehow with your content. These are the ones that I’ve found to be most impactful.
1. Get Overhead Or Straight On
These two angles are particularly compelling and they translate seamlessly to the visual language used on social media.
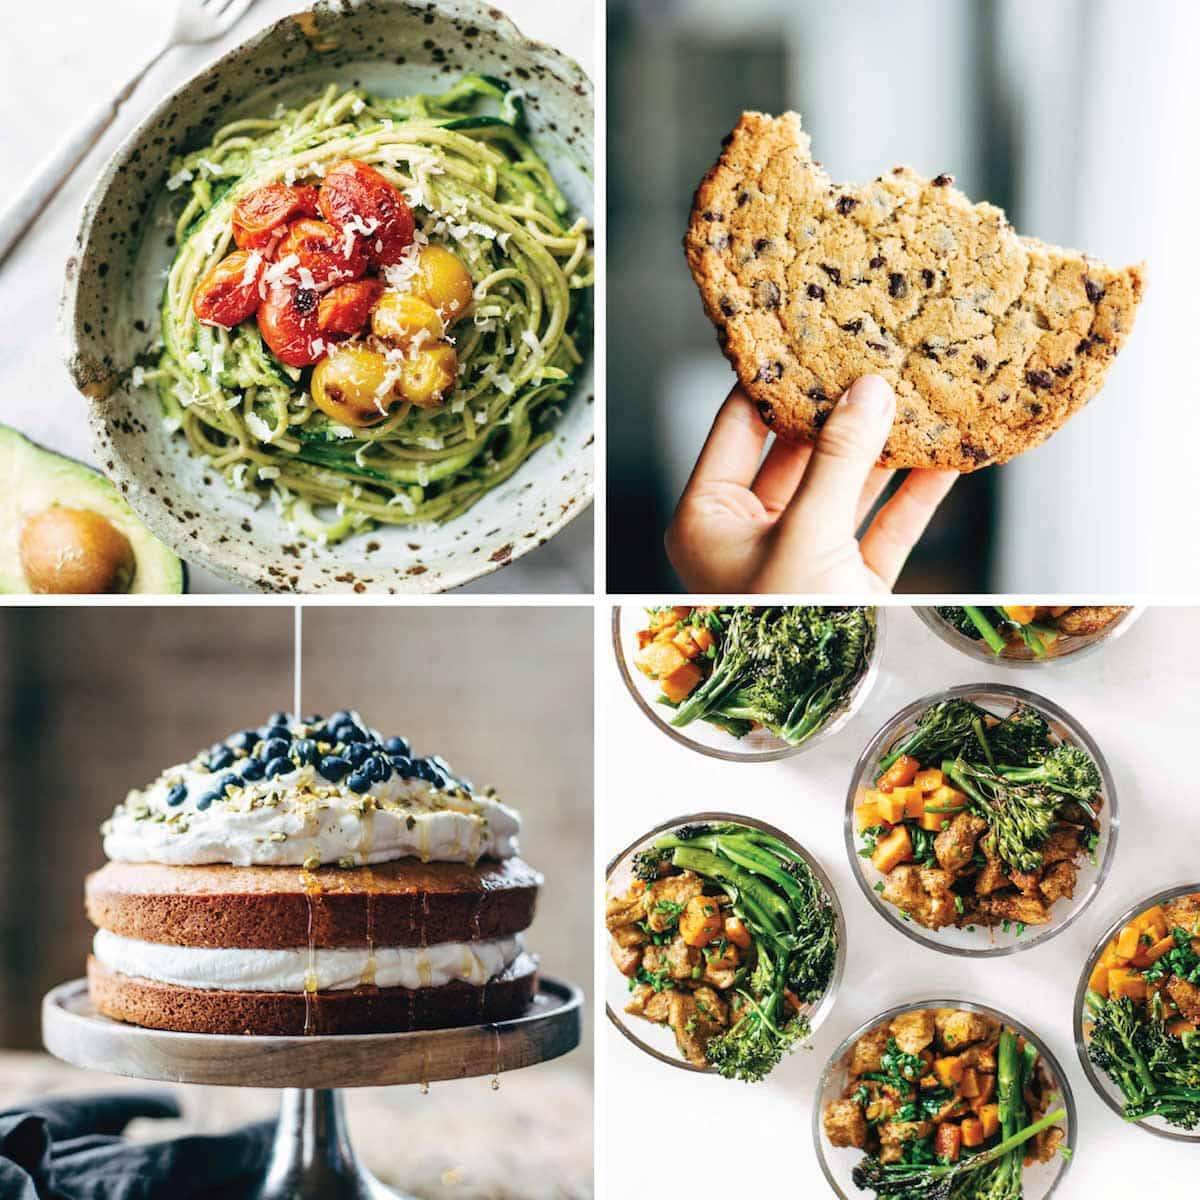
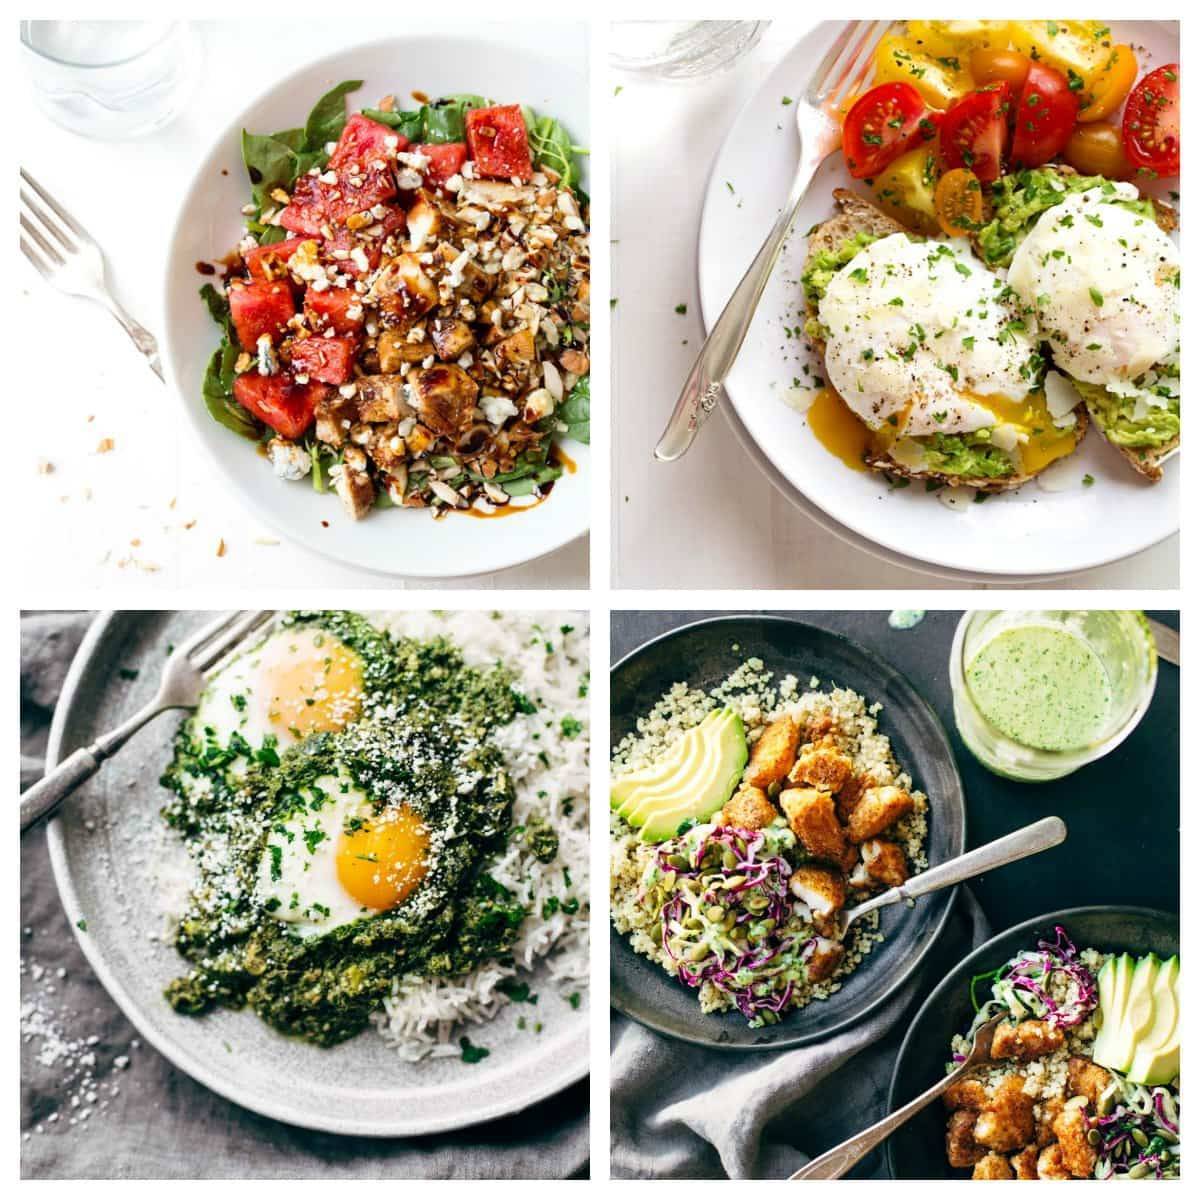
The overhead angle allows you to get a top-down look at beautifully styled food: think loaded smoothie bowls, garnished soups, and textured salads.
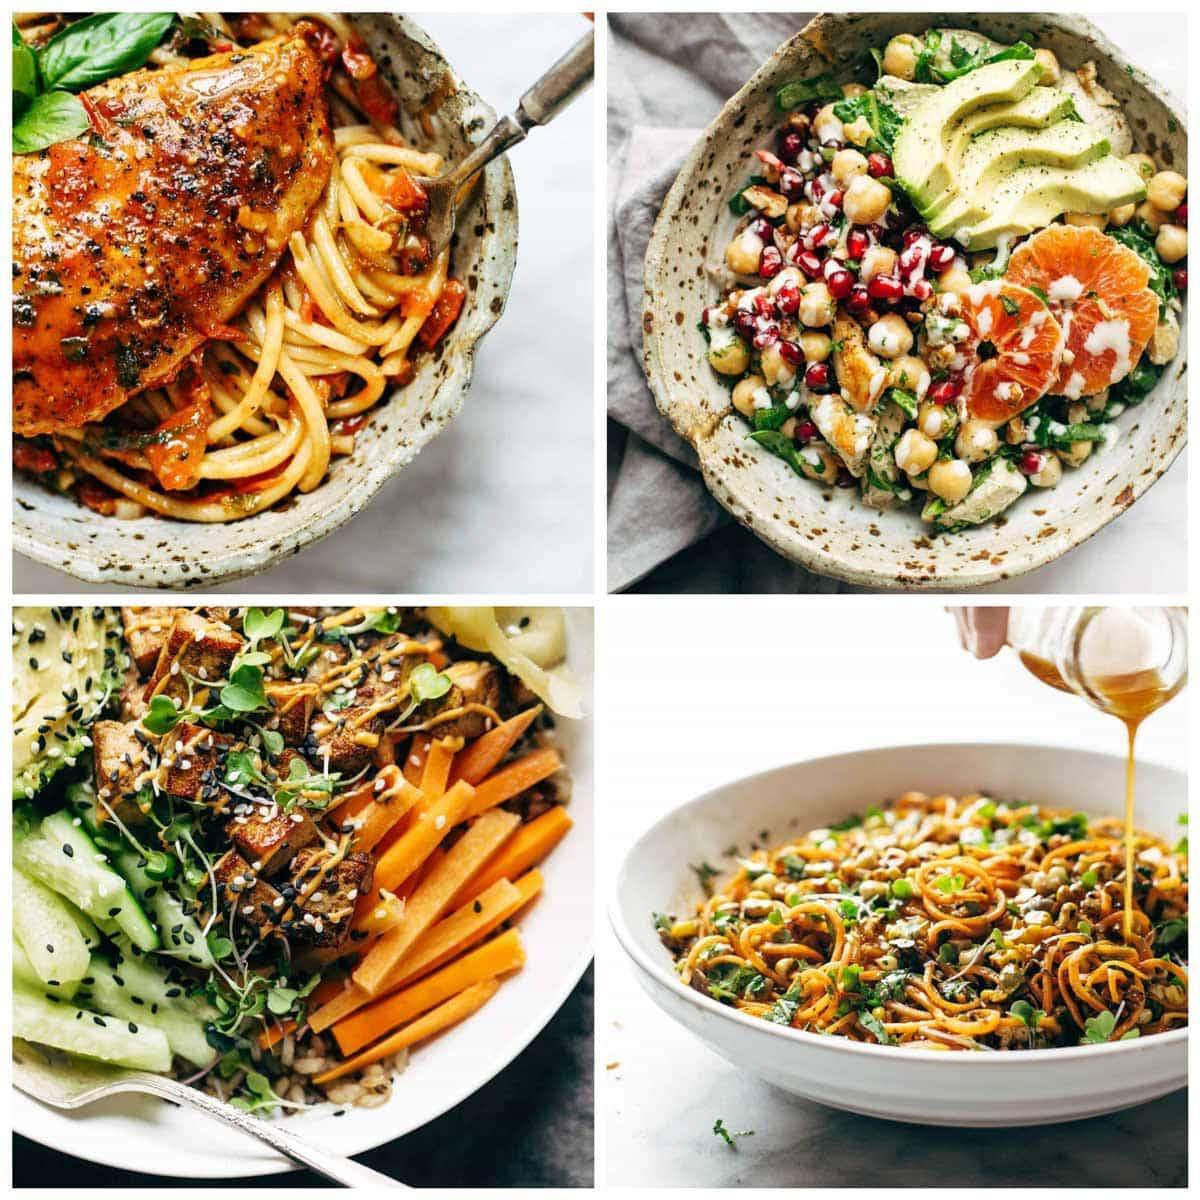
And the straight on angle allows you to emphasize the height and structure of the food: think saucy burgers, ice cream cones, and pasta piled high in a bowl.
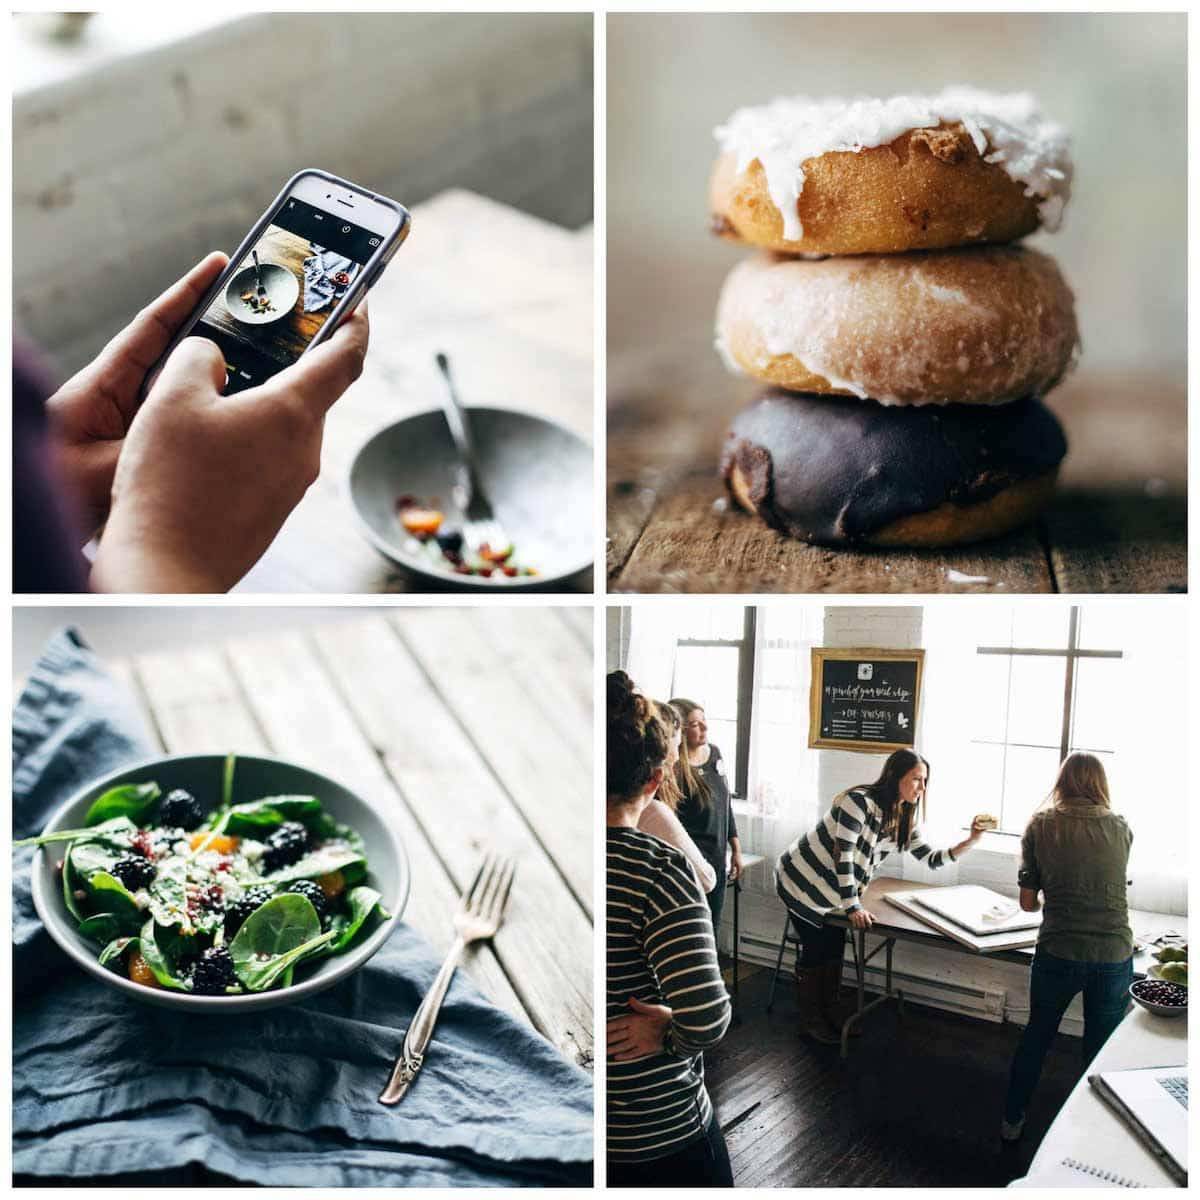
Beautiful fact of life = if you’re not shooting with a big fancy camera, these two angles work like a charm with a smartphone.
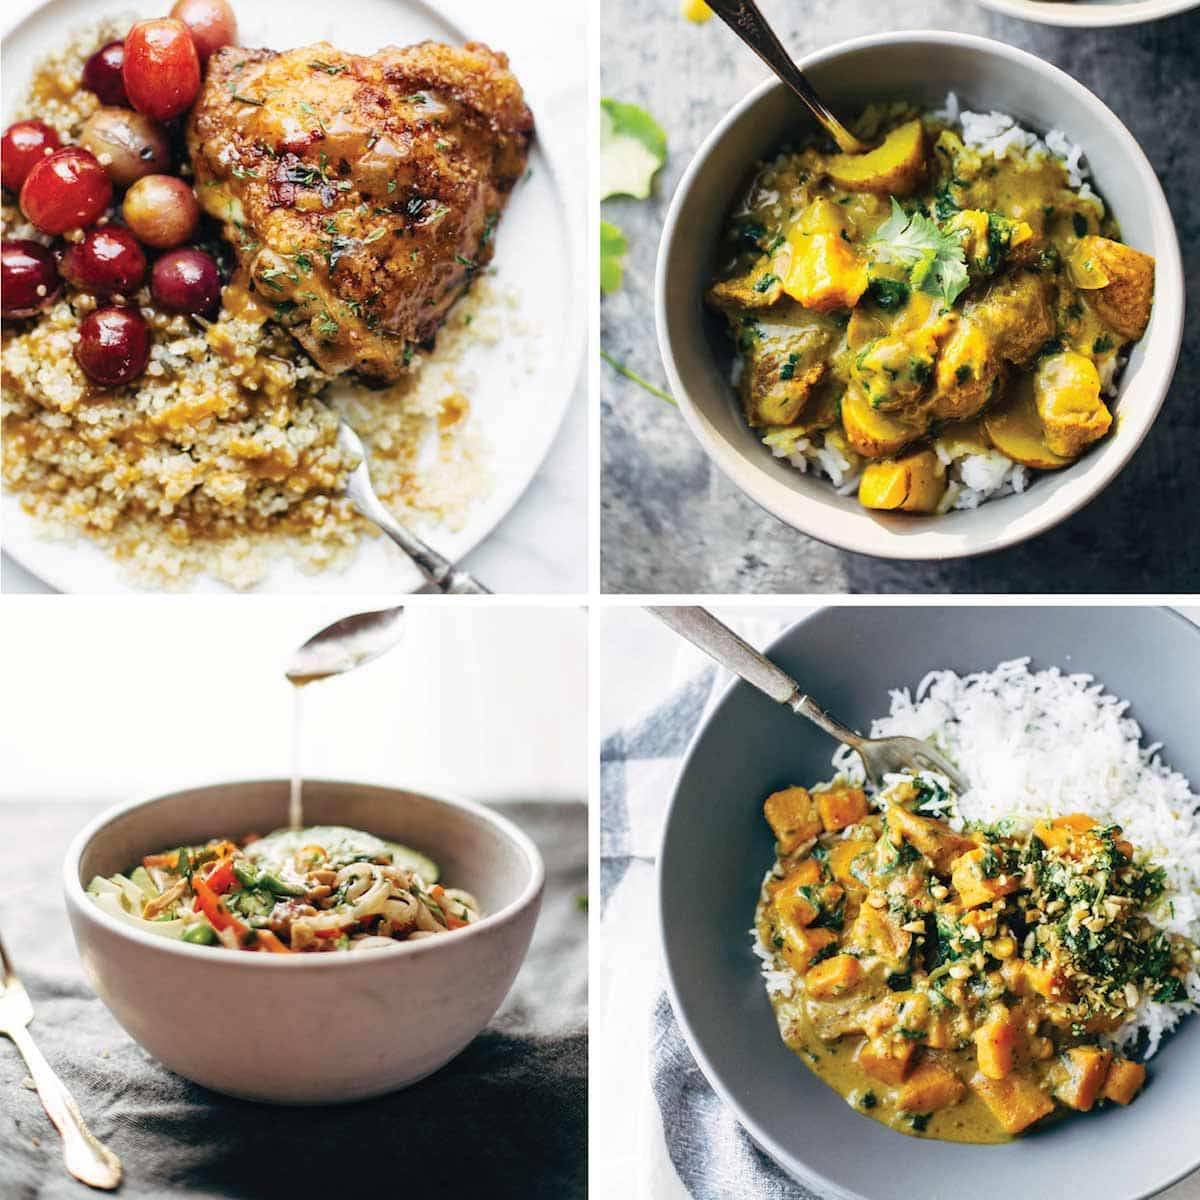
2. UsE Props Or Dishes with a Matte Finish
Shiny reflective dishes can either create highlights and bright reflection spots in places where you don’t want them, plus they can actually put YOUR REFLECTION in the photo. Like, you’re wearing jammies and you don’t have your hair done and then LOOKOUT – there’s your reflection, right next to that gorg plate of French toast. Thankfully this has never ever ever happened to me. Ever.
The fix is easy – use dishes with a matte finish. They can be tricky to find, but I have a few from ceramics artists like Speck and Stone, Haand, and my very own amazing father in law whose website is coming soon because so many of you ask about it alllll the time which is super fun. I’ve also picked up a few from places like Crate and Barrel, Restoration Hardware, Ikea, World Market, and Target.
3. Go Monochromatic
If you want the emphasis of your photo to be less on the overall setup and more on the food itself, try for a monochromatic arrangement with your background and dishes. For example, a white plate on a white background, or a black plate on a black background. This puts the focus on the food since all the color contrast is happening right there on the plate. This is a tiny little hack that can really make photos POP.
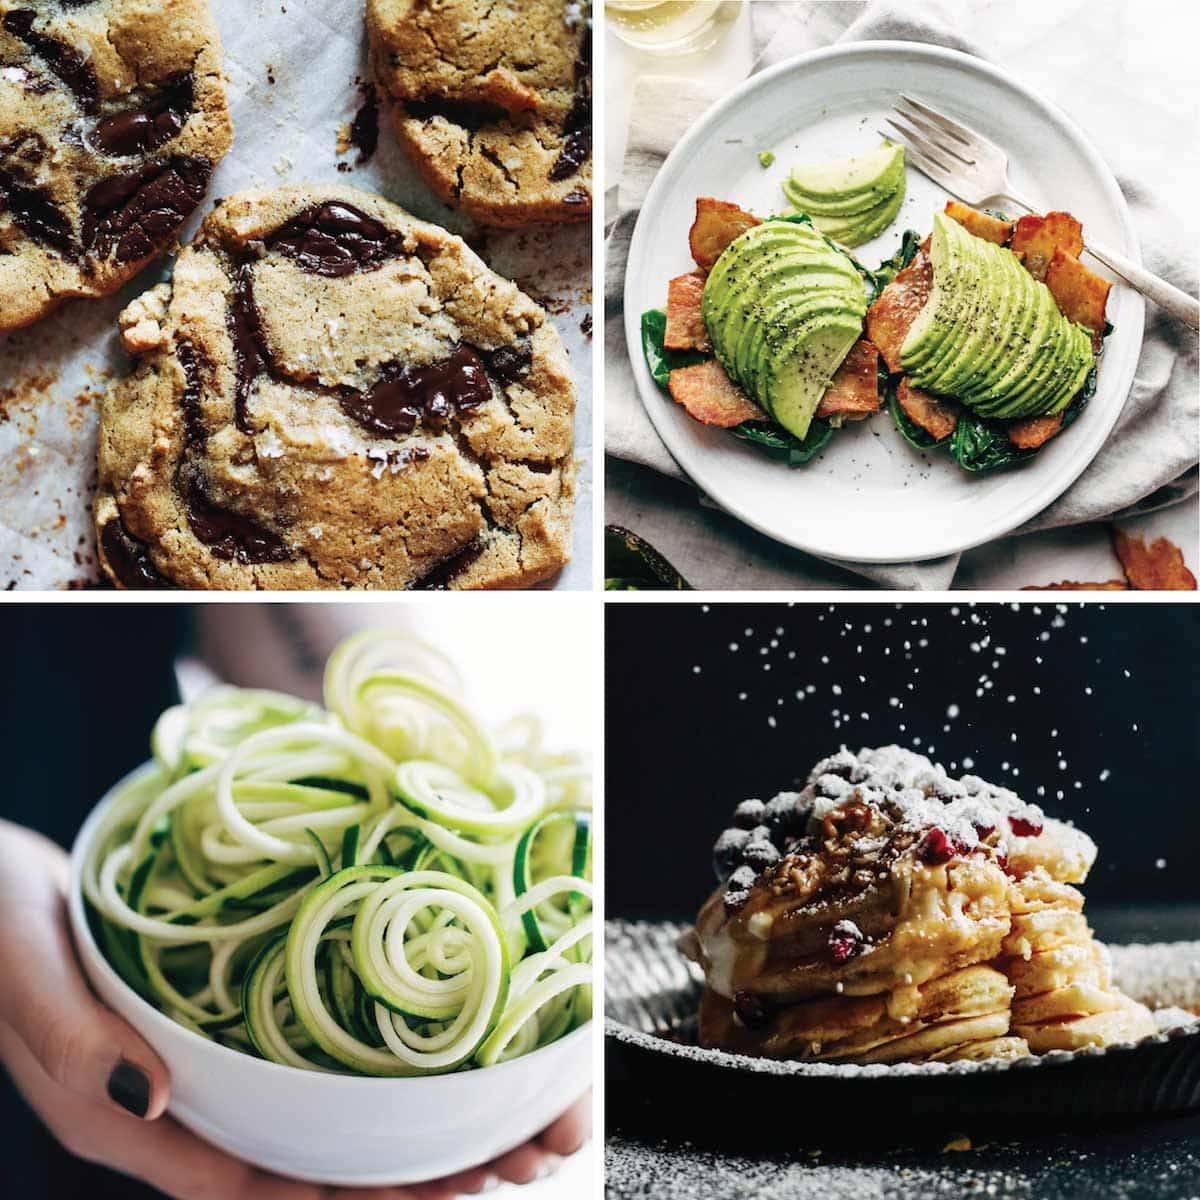
4. Twirl, Slice, SPrinkle, Drizzle, Crumble, Toss, And More
Your food should look amazing before you even pick up the camera or phone. If you don’t think the food looks amazing, go back to the kitchen and twirl, slice, sprinkle, drizzle, crumble, or toss. These are the tiny detail things that make ALL THE DIFFERENCE.
A handful of Parmesan, a few tiny sprigs of herbs, a drizzle of olive oil or even a sprinkle of salt and pepper can go a long way in making your food look as good as it tastes.
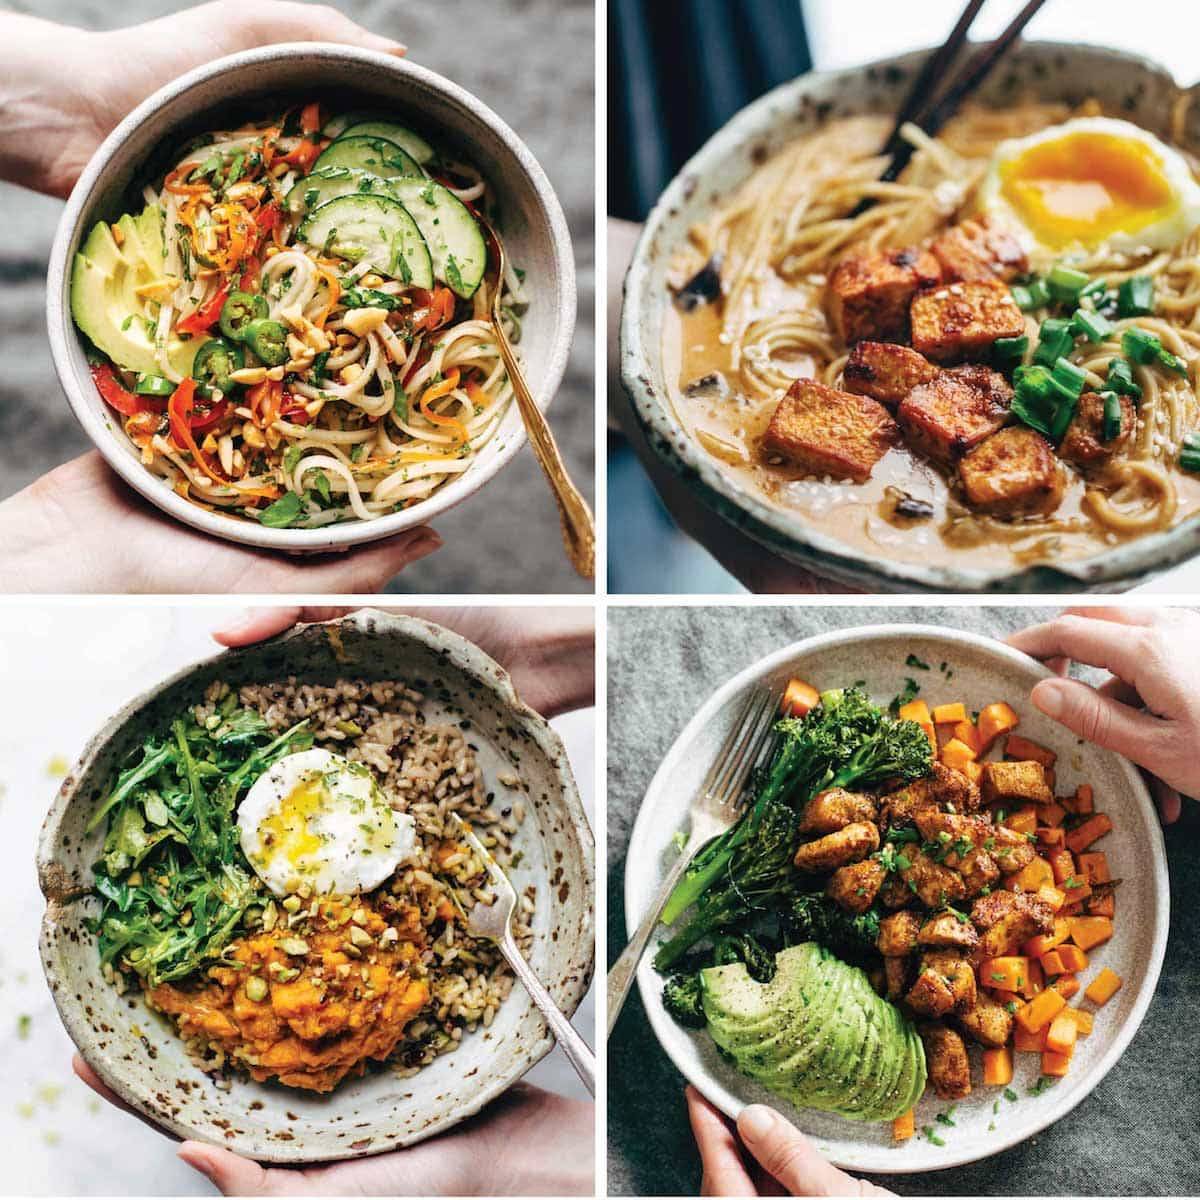
Learn how to get the perfect fork-twist of noodles. Practice your egg-poaching skills to get the most epic runny yolk. Make curly-cues out of your carrots instead of just chopping them so you can create a pretty little pile of them in your salad bowl.
Lines, shape, texture… pay attention to all of it and use your food in unique forms to create something beautiful.
5. MAKE IT COMPELLING
Every time you post something, you want it to be compelling in some way. There are ways you can do this visually (for example, slice an avocado in thin strips and fan them over toast – that’s a little more compelling that sloppily chopped avocado, right?) but there are also ways that this ties to your content. It should affect your decisions about what’s worth sharing.
For example – I love banana bread, but a photo of one single slice of basic, regular, plain old banana bread on a plate? not super compelling in and of itself. So what could you do to the banana bread to make it more compelling? Maybe it’s adding something to your recipe (chocolate chips JUST SAYING) or changing something about the process (caramelizing the bananas) or giving the banana bread a texture boost (crunchy sugar on top or glaze dripping down the sides)… or maybe it’s just showing a stack of banana bread slices that’s 7 pieces tall with a pat of butter melted on top because WHOA that’s much more compelling that one single flat slice of banana bread on a plate all by its lonesome.
Whether visually or by changing the nature of the food itself, make any food that you share as compelling as possible. Add a wow-factor to inspire people to engage with the content and share it with their friends.
6. Develop a Signature Look
This one is a double whammy, because while it’s good for your followers to know what to expect from you, it also makes your workflow a lot easier once you know what kind of look you want to create and what works with your followers.
Create a signature look and then just EMBRACE it.
Of course, once you know what performs well with your audience, use that as a stylistic guide, not a rule book. It doesn’t mean you have to do the same exact thing every time, but it can mean that you have somewhat of an idea in your mind of what you’re going to do the next time you approach a shoot.
7. Study Study Study
One of the most important things you can do is study people whose food photography inspires you. Spend some time bopping around Instagram or Pinterest and getting some food photography inspiration.
Look for some of the traits that you like in others’ work and identify the things you see being effective for engaging followers. Are there angles you like? Colors? Food styling specifics? Editing styles? Remember that studying isn’t copying. Studying is getting ideas for how you can make your own (creative, unique) work even better than it already is with a handful of inspiration from the people you love.
When you’re doing studying, it’s time get to work – because the follow up to study, study, study is PRACTICE, PRACTICE, PRACTICE.
For more on how to take viral food photos, check out our two-day interactive Food Photography Workshops.
Right now we are offering a deal for new students who sign up for summer workshops – when you sign up, you’ll get free, immediate access to a one year membership on Food Blogger Pro ($279) at no additional cost. Space is limited to 12 students per session.


Great tips! I especially love number 4!
I’m going to try all these! Thanks for the valuable tips!
Thanks Mary! Glad you found them helpful!
You’re so inspiring, Linds – wish I lived in your state!
Thanks Lady T! Love that you’re calling me Linds 😀 it’s what my real life people call me!
Ah yes! I’ve been searching for good matte finished plates and bowls! Finally starting to add those to the prop cabinet! Such a difference!
Right?! Glad to hear you’ve noticed a difference too!
i love the monochromatic tip! sometimes i try a bright-ish colored prop, and i end up staring at the prop instead of the food the whole time.
Me too! all white or all black can be a good way around that!
These are great tips, Lindsay! I’m going to try the monochromatic look. I always add pops of color and I’m ready to try something different. I SO wish I could attend one of your workshops. Hopefully someday!
I hope someday too! Thanks Dee!
Awesome post, great tips. Thanks Lindsday!
Thanks Meiko! 🙂
Thank you for these helpful tips, Lyndsay! I’m just a beginner, and I learned some new things here. I’m sure your workshop is wonderful!
Thank you Cathy!
Where did you get your speckled bowl with the gold accents please? Also, great run down of tips and pointers, thanks Lindsay!
Hi, Mira! Her father-in-law made it. I love that bowl too! I’m so looking forward to his website- coming soon!
Right on! Thanks for jumping in Tonya!
Great tips! I totally need work on my avocado slicing! 🙂 Thanks for sharing!
yes – it’s all in the avocado slice! 😉
This came at the PERFECT time as I am jusssssst setting up my blog today. TODAY.
Wohooo! exciting times ahead!
Lindsay- As someone who is trying to grow their blog, this is SO helpful. Thank you so much, I wish I lived closer!!
So glad to hear that Caitlyn! We wish you lived closer too 🙂
Thank you, thank you for the shout-out… and it is SO true – my photography improved dramatically during the workshop! This post is an awesome reminder of things to keep working on – you are so darn inspiring! Can’t wait to head back to Minnesota to work on refining my look! xo MB
Thanks MB! Such a pleasure to have you and it’s so fun to share your story!
Great photography tips! Thanks for sharing, Lindsay.
I so wish I could attend your photography workshop this summer. As soon as I am able to attend I will be the first to sign up. Can’t wait! 🙂
So awesome! I’ll look forward to meeting you Emily!
If I lived closer I would SO be at one of your workshops. Your photography is so inspiring! Definitely going to try and start implementing these tips.
Thanks Heather! 🙂 Would love to see you at one in the future!
Okay. You’ve totally made me hungry with all the photos of your recipes! I sure wish I could attend. It’s on my list, but I don’t think I can make it this year. Looking forward to seeing you at the Everything Food Conference, though!
I love a monochromatic color scheme as well. It’s how I edit all of my photos! I think that making compelling themes in your photos is a great way to spread your content in the best ways!!
No wonder why your pics look so amazing! Thanks for awesome tips!
Great tips! Especially 4 and 5. Thank you.
Great tips, Lindsay! I definitely need to get my hands on some matte dishes, they look so much better on photos. I also heard there’s a spray available, that makes the cutlery matte. Have you ever tried that?
Thanks for the photo tips! Wish I lived closer to take one of your seminars!!
Thanks for the awesome tips! Been looking for some matte finished dishes, it’s such a bummer when I see my reflection in an otherwise okay photo 🙂
Your studio looks gorgeous!
Such great tips! I wished I lived closer to be able to attend one of these workshops 🙁 Reading this post made me so happy for all that you’ve accomplished and to be able to see you pair your cooking/photography gift with your teaching one. Happy Teacher Appreciation week!
Hey Lindsay.
These are awesome tips. I definitely need more practise. One problem I have is I live in a small apartment, so if I don’t crop the photo to show just the food the background is never nice, always a door or clutter. Do you have any tips for something I could use as a background thats not too cumbersome?
Thank you Lindsay for the great tips!
Your workshop sounds fantastic, sadly living in Europe it’s not in the card for me right now. Do you plan on making some video tutorials/workshops on photography? Thanks 🙂
Another thing about the monochromatic tip: it helps limit the sensory focus to one area. Sometimes I wish people put as much thought into other types of photography as food bloggers put into food photography, because it’d make browsing the ‘net as an autistic a lot easier. (I wish more sites were autistic-friendly, but anyways.)
It also looked better than the photos that have been photoshopped to have color in only one place.