
Featured comment
This was a great recipe. I peeled the skins and yes you are correct, the hummus came out perfectly smooth.
![]() Trup
Trup
This is how I make hummus.
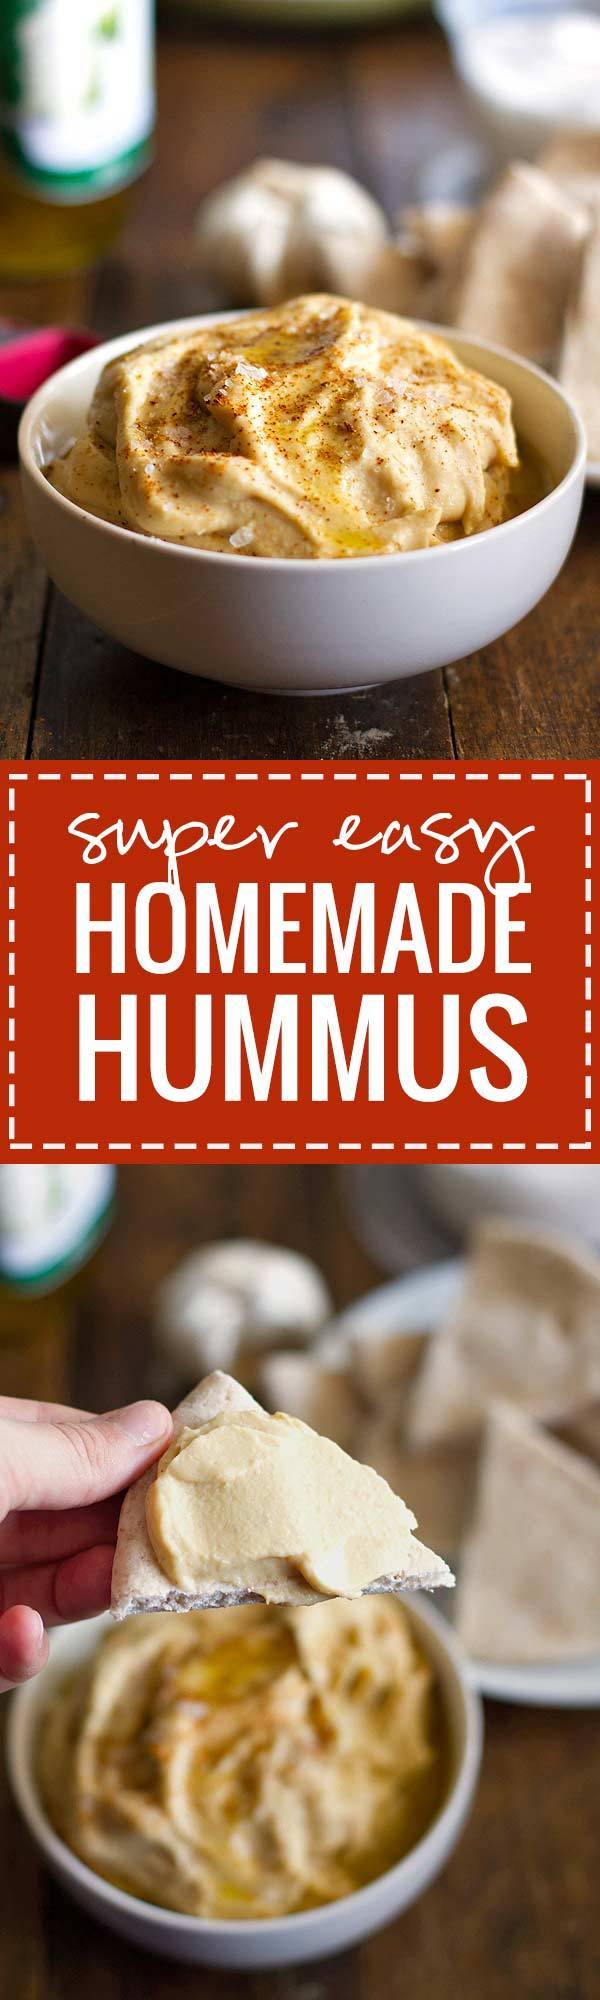
HOW TO MAKE OUR HUMMUS:
Authentic hummus: love it, but that’s not exactly what I’m talking about here. This is the Lindsay-making-hummus-at-home-in-less-than-30-minutes hummus variety. Which actually is my favorite variety, because spending 30 minutes making something that lasts for lots of lunches is a time steal. In a good way.
Know this. You need to peel the skins! Peel.the.skins. Peeeeel the skins.
Unless you have some sort of amazing blender that can whoosh anything, everything, one hundred percent smooth and creamy – does that even exist? add that to my Christmas wishlist – I highly recommend taking the time to peel the skins off the cooked (for me, canned) chickpeas.
There’s not a nice way to say it. It’s annoying to peel skins off of tiny little chickpeas.
You’re going to start a chickpea peeling party, but then it’s going to be sort of boring and you’re going to feel crabby at me. I would like to say this to you in that moment: try doing it in 100 degree heat with insane dogs barking in the background and a fan blowing the stray skins all over the place! Nope. Lie. What I actually want to say to you in that moment is that it will be done soon and it’s worth it. Really. Every time I do it, I’m glad.
The texture is so much better when you peel the skins off.
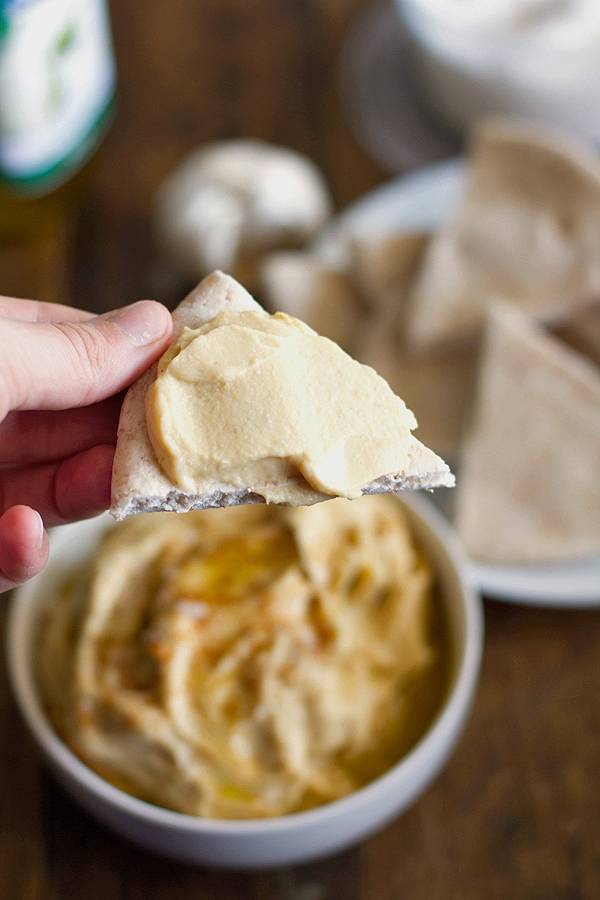
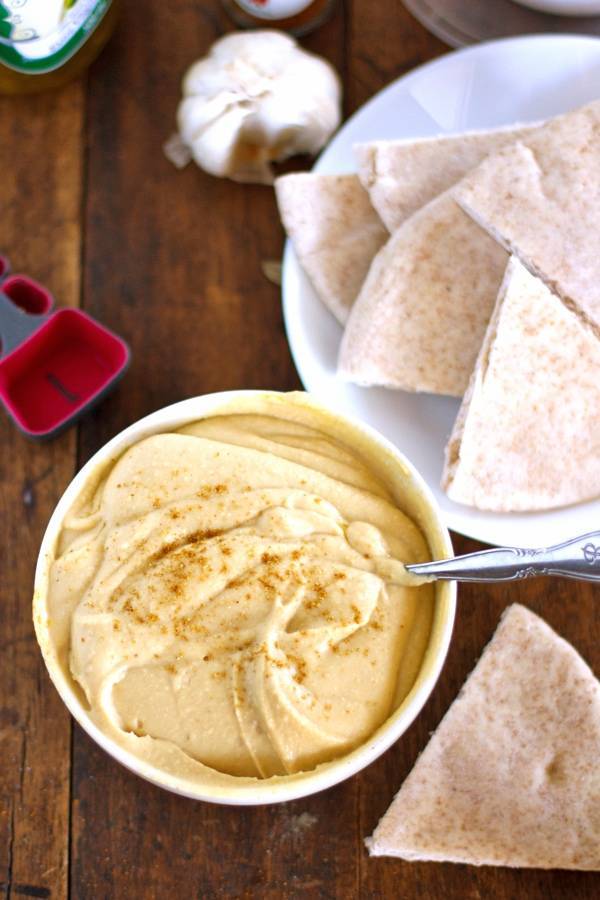
I mean, look at that silky smoothness.
Now, I think you should eat that silky smoothness. On a pita or cracker or vegetable or how bout on a sandwich? With turkey and sprouts and thick, soft grainy bread? I’ve never craved sprouts on a sandwich more than I do right now.
Update! I didn’t have this at the time I wrote this post, but for all my blended stuff now, including this hummus, I always have the best results with my Blendtec Designer Series Blender. If you’re in the market for a new grown up blender, this has your name all over it.
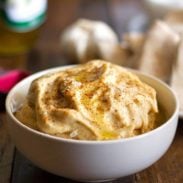
Super Easy Homemade Hummus
- Total Time: 35 minutes
- Yield: 10–12 1x
Description
This one little trick will give you the smoothest hummus you’ve ever had. Basic ingredients – no tahini required. My favorite hummus ever.
Ingredients
- 2 cans chickpeas
- 1 clove garlic
- 2–3 tablespoons olive oil
- up to ½ cup water
- 1/2 teaspoon salt
Instructions
- Remove the skins from the chickpeas by gently pinching them until the skin comes off. Discard the skins and reserve the chickpeas.
- Place de-skinned chickpeas in a blender or food processor with garlic, olive oil, ¼ cup water, and salt. Blend or puree until very smooth, adding the remaining water one tablespoon at a time if the mixture is too sticky to move through the blender. Once the mixture is going, you can stream in a little bit more olive oil to help achieve a super creamy texture.
- Serve on pitas, crackers, veggies, or sandwiches. Adjust seasonings as you like!
Notes
Note: I love garlic, but even two cloves can make for some very garlicky hummus that will hang with you for several hours. If you have an aversion to garlic, use a little garlic salt instead or start with half of a clove. You can always add more, but you can’t take it out once it’s been blended together! Another option is roasting or sautéing the garlic before blending to help tone down the garlic “bite”.
- Prep Time: 30 mins
- Cook Time: 5 mins
- Category: Dip
- Cuisine: Mediterranean
Keywords: easy homemade hummus, homemade hummus, hummus recipe
Before we did that video, I said to myself, I’ll have wet hair and it won’t be that big of a deal.
After we did that video, I said to myself, Lindsay. Do your hair. And get a haircut.
Oh, the Philippines…
Disclaimer: this post contains affiliate links.
Chickpeas: my new BFF food! 🙂 I roast canned chickpeas with olive oil and salt, then eat them while still hot enough to burn my fingertips a little. Yum! Someday, I’ll be brave enough to try making hummus… I do love it so, so much!
Thank you for this. I make hummus all the time and always wondered if I should peel the chickpeas. Now I’m going to . . .
You will never go back. Except when you’re lazy (happens to me all too often), and then you’ll regret it and you’ll peel again next time. Sooo so smooth!
I did this recipe with a nutribullet and it really shredded the skins.
Lindsay, you mentioned if you could find a blender that would blend the Chic peas without taking off the skins, a Vitamix works great. I have never peeled the Chic peas and it turns out very creamy.
I’m glad to hear that the Vitamix takes care of those skins because I have one too. I don’t think I would be peeling the skins off of a zillion chickpeas. Too time consuming.
I never peeled them before but i did this time and it was worth it, much nicer texture. This has been my best hummus yet. It was a little bland tho, mabey ill ad some paprika or lemon next time.
Yum! Paprika and lemon would be great in hummus, Stephen!
I love hummus! My vegetables and pita bread love it just as much as I do.
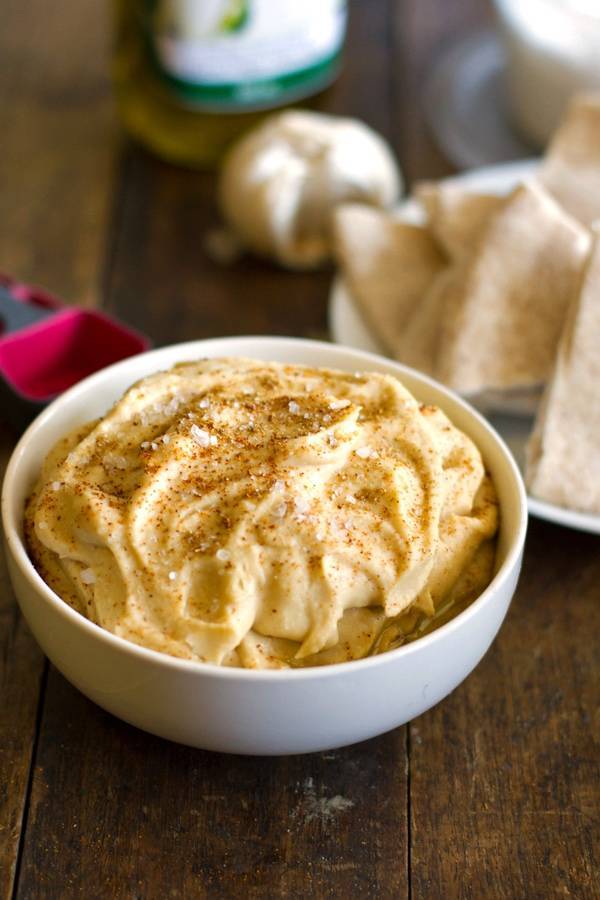
Looks yummy! What seasonings did you sprinkle on top of the hummus? (paprika & salt, perhaps?)
Cumin and cayenne and salt. 🙂
I heart chickpeas. Like, I can eat them directly out of the can (don’t judge me too harshly. I do rinse them first, lol). But I have NEVER even thought to peel those little guys. Sounds like an excellent activity for the upcoming WI winter….
So excited to have found your blog Lindsey! Love it already
AH sorry–Just realized I hit enter and spelled LINDSAY wrong above. Hope you’ll let it slide maybe this once ;-p
Wow that hummus looks really creamy—better than most stuff you find in the store! Will have to try it sometime
I like the wet hair – I think it lends an authentic vibe 🙂
And, thanks for the reminder of how much I love homemade hummus! I think I may have to switch to it as a new lunch staple (Alex would be so proud – I’m usually fairly uncreative at lunchtime 🙂 ).
I haven’t tried with hummus, but I’ve made other chickpea dips with my Cuisinart food processor and had super creamy results without peeling the skins. In fact, I hadn’t even realized that was something people did until now!
Santaaaaa… I want one! Sounds perfect. My food processor is good, but not that good. Ironically my blender here is actually better than my food processor back home. Probably time for a new (Cuisinart) one! 🙂
Hi, Lindsay –
I have tried, and tried, and TRIED to make homemade hummus but each and every time it was a FAIL! This recipe – oh, so simple – and oh! so yummy!
I will tell you – I am probably a little over zealous of my VitaMix, and it completely shreds, creams, and makes non-existent those little pea covers. You aught to think about adding one of those to your wish list as well. Makes INCREDIBLE homemade peanut butter in a SNAP!
I have a BlendTec now and I find that even though it’s super powerful, nothing can beat that creamy no-peel texture! 🙂
I have never heard or seen of chickpeas being peeled! I almost didn’t watch this video–because I make my own hummus all of the time. IF I can muster up the patience, I will try it. Your pictures are beautiful. Yummy!
I’ve never peeled my chickpeas, and although it sounds awfully annoying, I think I oughtta give it a give it a try. I’m also really happy to see that you don’t use Tahini in your recipe. I swear, every hummus recipe calls for tahini, and I refuse to pay $7 for a jar for something that could be so inexpensive to make otherwise. And i don’t know about you, but I don’t notice much of a difference in taste.
I don’t like the taste of tahini, it’s expensive, and I can’t find it here in the Philippines. I think I’m better off without the stuff. 🙂
Tahini is the absolute best source of calcium! You may want to rethink your exclusion of it. Or make your own if it’s too expensive for you!
Interesting! thanks for the note.
Tahini is very easy to make, especially since you have a food processor and a blender.
I will totally try this easy and awesome recipe 🙂
Thanks
I won’t foot the tab for tahini, either. A spoon of peanut butter stands in very well. As far as peeling the chickpeas goes, call me lazy if you want, but I won’t do it. I can make an amazing bowl of hummus in less than 10 minutes, plus the skins are where a lot of the nutrients are. Any food you peel is sacrificing more than cosmetics. The end product is no doubt more pleasing, but I need all the nutrients I can get!
Hi! I love this recipe, and that there’s no tahini! Tahini seems to overpower the flavor of chickpeas that have a wonderful flavor on their own. Question; is the serving size a standard 2 tbsp? I’m not seeing it anywhere but perhaps I’m overlooking it. Thanks!
Yep, that’s right!
While incredibly cumbersome and time-consuming, I swear by peeling the chick peas before processing them. It’s annoying, yes– but so very worth it. I agree with you completely Lindsay! and yes, I use canned too lol. I could live off of hummus. I’m not exaggerating. It’s its own food group. I take it back with a spoon.
Love the wet hair look! And this hummus looks so creamy! Will definitely have to try it soon!
Hmm. I never would have thought to peel the chick peas but I’m excited to give it a try. I also have some roasted red peppers that need to be used up so I think I’ll whoosh them in there, too (why do those darn things gets moldy so fast?!).
Delicious, love hummus so much! Greetings from mexico City…
I was wondering how you got them so silky smooth! It makes sense, but I’m not sure I have the patience you do…Somehow no matter how big a batch of hummus I make, it never seems to last very long. When I have some, it goes on EVERYTHING.
I think you just changed my life. Peel the skins! (smacks forehead) why didn’t I ever think of that!? I cannot wait to make hummus again now. Thank you!
Thanks for the tip on pealing the chick peas. I might try it one day. I am lazy though 🙂 Do you every ad any Greek yogurt or Tadzhik to it? I usually add one or two tablespoons to it. Now I am going to have to google Authentic hummus and see what I am missing.
My whole family is crazy about hummus. I especially love it since I lived in Israel for 6 months in college – it is literally a well used condiment there, along with Tahini.
New to your blog and love it.
I’m getting a lot of tips from your photography book – it’s great!
That’s awesome! What a cool place to live for 6 months. And glad you’re liking the book! 🙂
I make hummus all the time… Never occurred to me to peel the skins! Your hummus sure does look creamy! Mom mmm!
Yeah, I meant mmm mmm! Lol
Lindsay, you genius! I thought I knew every hummus recipe under the sun, but never have I heard or thought of peeling the skins! I’ll be honest, when I first read that I thought the heat had gone to your head and you were a little crazy… But then I saw that dish of the creamiest hummus I’ve ever seen and realised that you’re a genius 🙂 now to get the husband to start peeling chickpeas for me…
Think I will give this a try. Don’t much like raw garlic so I think I will cook it a bit in the oilve oil before adding.
Did you post the winners of the cook books?
I contacted them via email. 🙂
I’m loving your videos Lindsay! I’ve just started making my own and they’re nowhere near as pro as yours.
Funnily enough this is exactly how I make hommus even with the water! It’s a fair bit healthier than the store-bought variety too. I hate to admit it but I’m too lazy to peel the skins. My blender does a pretty good job though.
i love all your videos! they make me smile! i’m glad there’s this new way to make hummus. i never have tahini on hand so now i’m glad to know you can make hummus without tahini 🙂
Thanks Julie! And I love hummus with or without tahini, so in the Philippines… it’s without!
Hmm. I’ve never thought to remove chickpea skins before… I just got a NutriBullet blender that I bet would whirr those skins into smithereens. I haven’t made hummus in it yet, though, only smoothies. The smoothness of your hummus sure looks good. And quit worrying about your hair. You look beautiful. 🙂
Ha! Cat. You’re too kind. 🙂 And I need to check out the NutriBullet! Sounds like a dream.
Am also someone who could not live without hommus and make myself most of the time: from scratch and usually without rubbing the skins off. Umm, perhaps the silky smoothness is not present, but I have a few more minutes of time in my day 😀 ! Lovely simple recipe!!